
Why pay for SSL? Using Let's Encrypt on a Heroku Rails App
I am a contributor to a non-profit’s Open Source Software (OSS) project called StockAid.
Recently, when faced with handing the project over to the client, we realized our SSL (Secure Sockets Layer) certification had expired. Luckily I was hanging out with Mike Virta-Stone. He let me know about Let’s Encrypt, a free, automated, and open certificate authority (CA), run for the public’s benefit. Let’s Encrypt is a service provided by the Internet Security Research Group (ISRG).
I was stoked to have found this solution for my client. Now, implimentation. I am working on a mac so I have access to Homebrew.
- Install letsencrypt using Homebrew:
brew install letsencryptIf you are not on a mac feel free to grab the source:
git clone https://github.com/letsencrypt/letsencrypt && cd letsencryptRun the
letsencrypt-autocommand everywhere I useletsencrypt.
- Run Let’s Encrypt’s certificate creation manually since we aren’t on the server:
sudo letsencrypt certonly --manual-
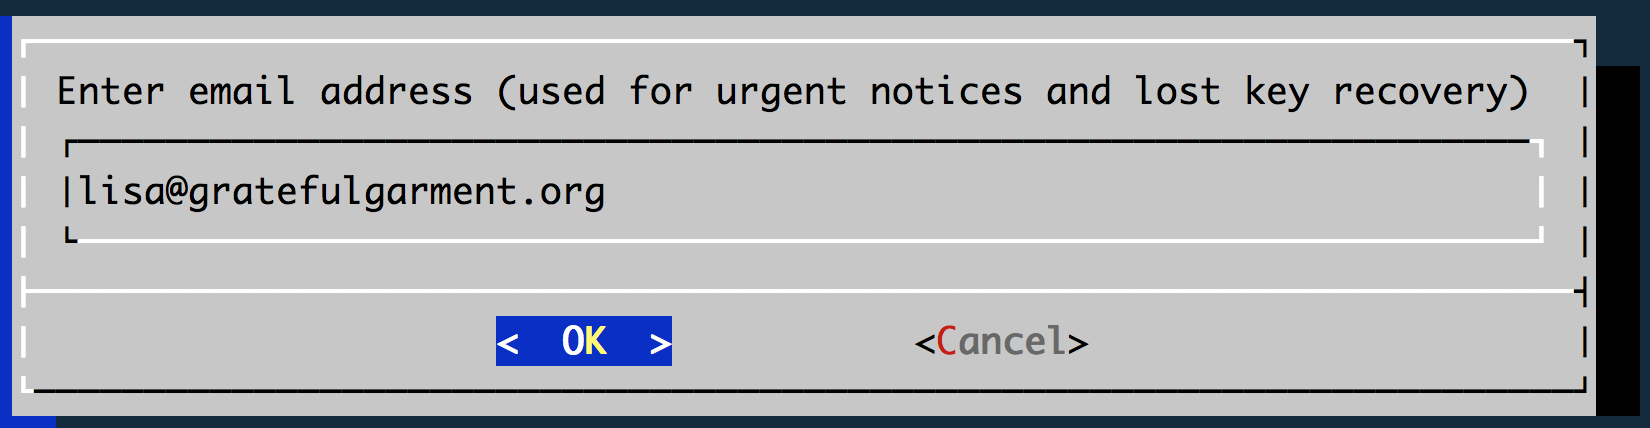
Enter your email.
-
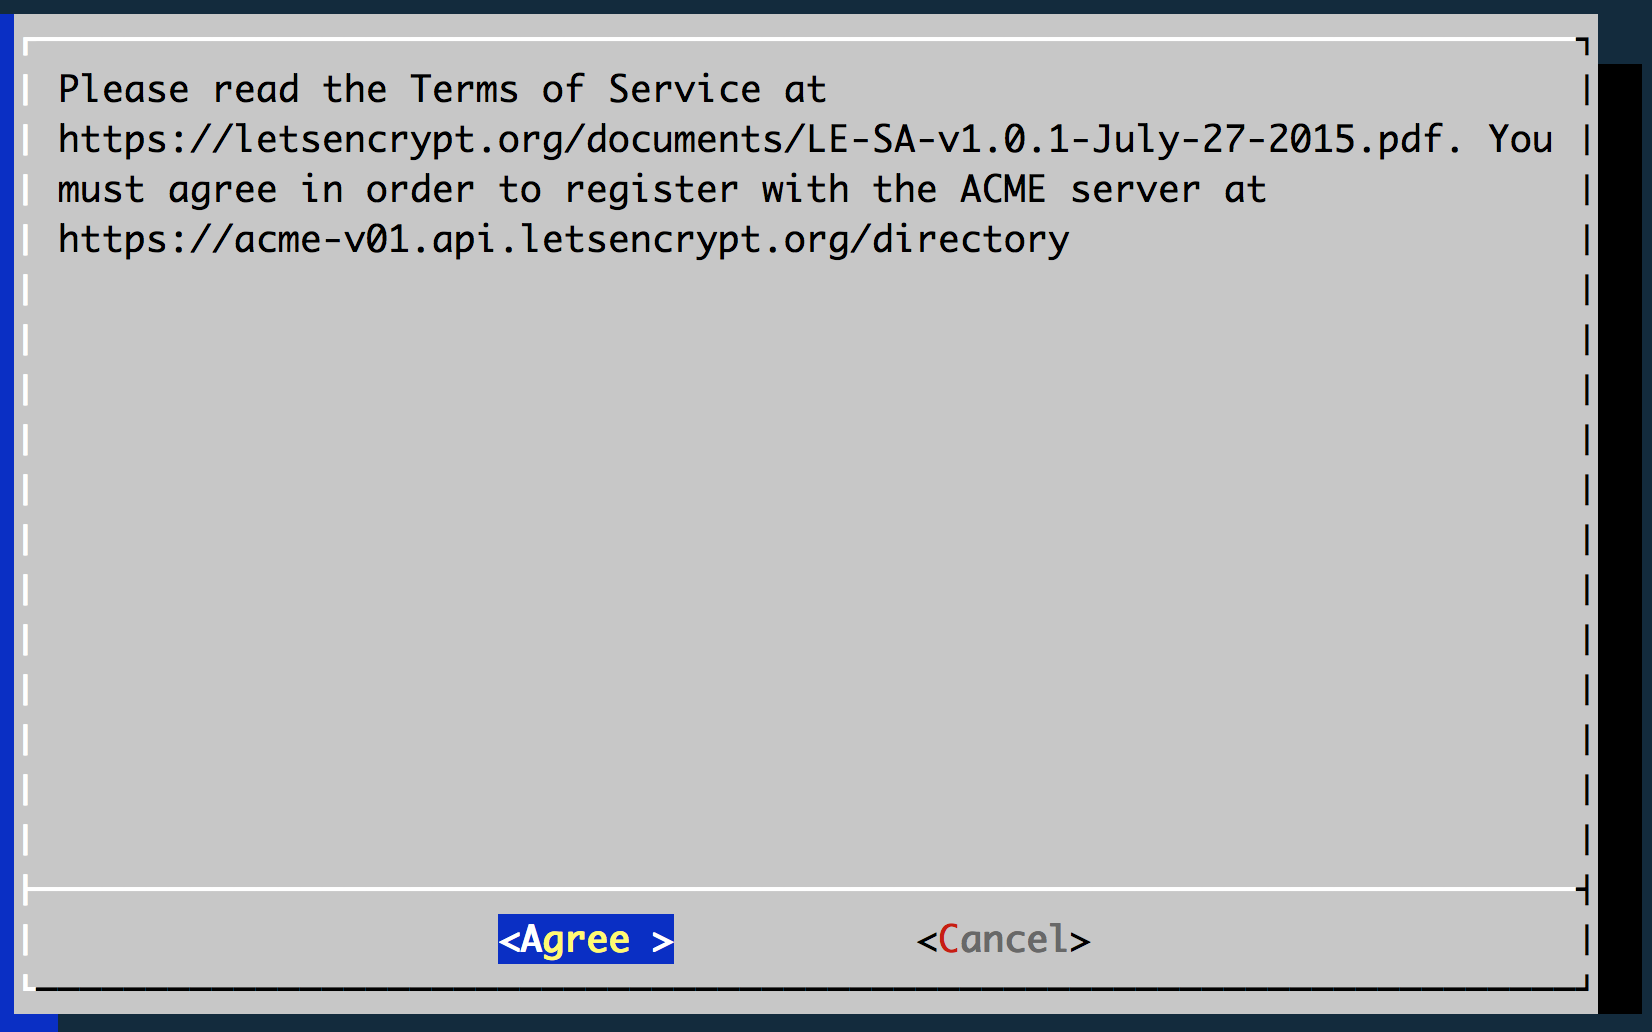
Agree to Terms of Service.
-
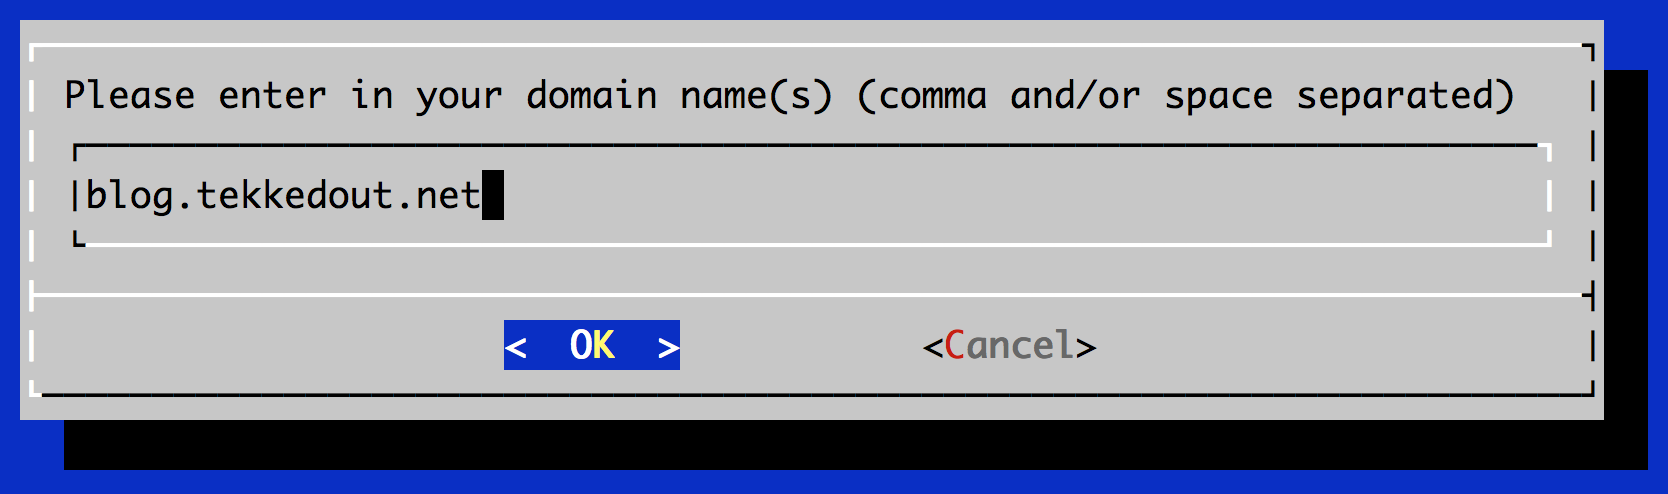
Enter your domain name(s).
-
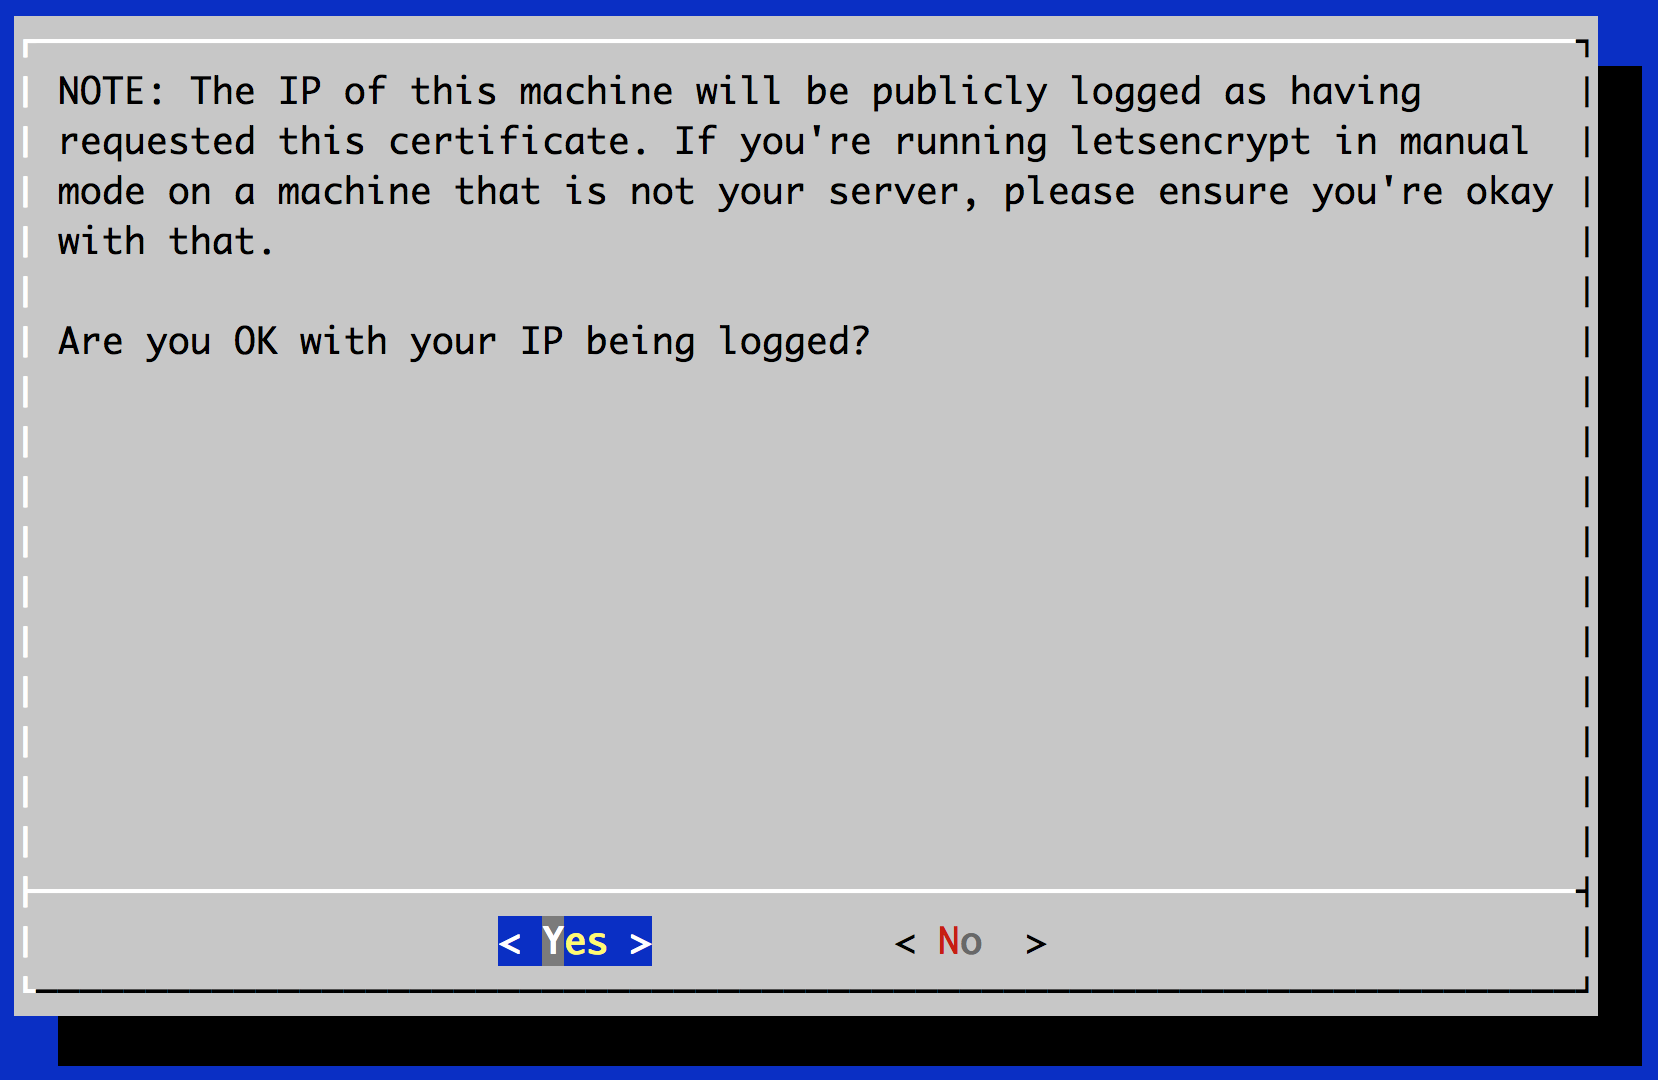
Confirm logging of IP (Internet Protocol) address (if you are comfortable with this).
Next you’ll see something like this (Stop do the next step before pressing Enter):
Make sure your web server displays the following content at
http://blog.tekkedout.net/.well-known/acme-challenge/your_special_key_prefix before continuing:

your_special_key_output

If you don't have HTTP server configured, you can run the following
command on the target server (as root):

mkdir -p /tmp/letsencrypt/public_html/.well-known/acme-challenge
cd /tmp/letsencrypt/public_html
printf "%s" your_special_key_output > .well-known/acme-challenge/your_special_key_prefix
# run only once per server:
$(command -v python2 || command -v python2.7 || command -v python2.6) -c \
"import BaseHTTPServer, SimpleHTTPServer; \
s = BaseHTTPServer.HTTPServer(('', 80), SimpleHTTPServer.SimpleHTTPRequestHandler); \
s.serve_forever()"
Press ENTER to continue
You’ll need to follow the instruction provided accurately or the cert will not be generated.
- Create a new controller (or use an existing one) to handle this request:
1
2
3
4
5
6
7
class LetsencryptController < ApplicationController
skip_before_action :authenticate_user!
def authenticate_key
render text: "your_special_key_output"
end
end
I have devise so I had to add a skip_before_action to stop devise from preventing the page load
- Add route to the
routes.rbfile for your chosen controller:
get "/.well-known/acme-challenge/:id" => "letsencrypt#authenticate_key"-
Test locally by going to localhost:3000/.well-known/acme-challenge/your_special_key_prefix and ensure your your_special_key_output is rendered.
-
Add, commit, push, deploy using your methods for deployment
-
Test live by going to http://
/.well-known/acme-challenge/your_special_key_prefix and ensure your your_special_key_output is rendered (if browser complains about old ssl cert just override for this load). -
Only once you confirm this is working properly should you return to the terminal and press
Enter -
You should see this:
IMPORTANT NOTES:
 - Congratulations! Your certificate and chain have been saved at
   /etc/letsencrypt/live/blog.tekkedout.net/fullchain.pem.
   Your cert will expire on 2016-08-17. To obtain a new version of the
   certificate in the future, simply run Let's Encrypt again.
 - If you like Let's Encrypt, please consider supporting our work by:

   Donating to ISRG / Let's Encrypt:   https://letsencrypt.org/donate
Donating to EFF: https://eff.org/donate-le- Update an existing cert - Free Heroku account
sudo heroku certs:update /etc/letsencrypt/live/your_domain_name/fullchain.pem /etc/letsencrypt/live/your_domain_name/privkey.pem- Upload your first cert - Free Heroku account
heroku addons:create ssl:endpointsudo heroku certs:update /etc/letsencrypt/live/your_domain_name/fullchain.pem /etc/letsencrypt/live/your_domain_name/privkey.pem- Paid Heroku accounts
- I recommend checking out Heroku’s recent blog post Announcing Heroku Free SSL Beta and Flexible Dyno Hours
- Adding the SSL Endpoint changes the CNAME you need to point your custom domain to. You’ll need to edit your DNS using the new value listed in your Heroku dashboard for it to work correctly.
Hopefully this tutorial was of some use to you. If your still stuck please feel free to reach out to me via the communication methods listed on this site :D
Props to the post I originally followed from Collective Idea.
Happy Coding!